Overview of Network Load
Balancing
The Network Load Balancing (NLB) feature in Windows
Server 2008 R2 enhances the availability and scalability of Internet
server applications such as those used on Web, FTP, firewall, proxy, virtual
private network (VPN), and other mission-critical servers. A single computer
running Windows Server 2008 R2 provides a limited level of server
reliability and scalable performance. However, by combining the resources of
two or more computers running one of the products in Windows Server 2008 R2
into a single virtual cluster, NLB can deliver the reliability and performance
that Web servers and other mission-critical servers need.
The diagram above depicts two connected Network Load Balancing
clusters. The first cluster consists of two hosts and the second cluster
consists of four hosts. This is one example of how you can use NLB.
Each host runs a separate copy of the desired server applications
(such as applications for Web, FTP, and Telnet servers). NLB distributes
incoming client requests across the hosts in the cluster. The load weight to be
handled by each host can be configured as necessary. You can also add hosts
dynamically to the cluster to handle increased load. In addition, NLB can
direct all traffic to a designated single host, which is called the default
host.
NLB allows all of the computers in the cluster to be addressed by
the same set of cluster IP addresses, and it maintains a set of unique,
dedicated IP addresses for each host. For load-balanced applications, when a
host fails or goes offline, the load is automatically redistributed among the
computers that are still operating. When a computer fails or goes offline
unexpectedly, active connections to the failed or offline server are lost.
However, if you bring a host down intentionally, you can use the drainstop command
to service all active connections prior to bringing the computer offline. In
any case, when it is ready, the offline computer can transparently rejoin the
cluster and regain its share of the workload, which allows the other computers
in the cluster to handle less traffic.
The hosts in an NLB cluster exchange heartbeat messages to
maintain consistent data about the cluster’s membership. By default, when a
host fails to send heartbeat messages within five seconds, it has failed. When
a host has failed, the remaining hosts in the cluster converge and do the
following:
- Establish
which hosts are still active members of the cluster.
- Elect
the host with the highest priority as the new default host.
- Ensure
that all new client requests are handled by the surviving hosts.
During a convergence, the surviving hosts look for consistent
heartbeats. If the host that failed to send heartbeats begins to provides
heartbeats consistently, it rejoins the cluster in the course of the
convergence. When a new host attempts to join the cluster, it sends heartbeat
messages that also trigger a convergence. After all cluster hosts agree on the
current cluster membership, the client load is redistributed to the remaining
hosts, and the convergence completes.
Convergence generally takes only a few seconds, so interruption in
client service by the cluster is minimal. During convergence, hosts that are
still active continue handling client requests without affecting existing
connections. Convergence ends when all hosts report a consistent view of the
cluster membership and distribution map for several heartbeat periods.
What is
new in NLB?
NLB includes the following improvements for Windows
Server 2008 R2:
- Extended
affinity.
The Extended option preserves client affinity when the configuration of an
NLB cluster is changed. This option also allows clients to keep affinity
to a cluster host even if there are no active, existing connections from
the client to the host.
- Windows
PowerShell for NLB clusters. Windows PowerShell is a new
command-line shell and scripting language. Windows PowerShell accelerates
automation of system administration tasks. You can use Windows PowerShell
to manage NLB clusters. For more information about using Windows
PowerShell for NLB clusters, seehttp://go.microsoft.com/fwlink/?LinkId=140180.
- Support
for rolling upgrades. NLB supports rolling upgrades
from Windows Server 2003 to Windows Server 2008 R2 and from
Windows Server 2008 to Windows Server 2008 R2. For
deployment information for NLB, including information on rolling upgrades,
see http://go.microsoft.com/fwlink/?LinkId=87253.
NLB
configuration
NLB runs as a Windows networking driver. Its operations are
transparent to the TCP/IP networking stack.
The diagram above shows the relationship between NLB and other
software components in a typical configuration of a NLB host.
Features
in Network Load Balancing
NLB includes the following features:
Scalability
Scalability is the measure of how well a computer, service, or
application can grow to meet increasing performance demands. For NLB clusters,
scalability is the ability to incrementally add one or more systems to an
existing cluster when the overall load of the cluster exceeds its capabilities.
To support scalability, NLB can do the following:
- Balance
load requests across the NLB cluster for individual TCP/IP services.
- Support
up to 32 computers in a single cluster.
- Balance
multiple server load requests (from either the same client or from several
clients) across multiple hosts in the cluster.
- Support
the ability to add hosts to the NLB cluster as the load goes up, without
bringing the cluster down.
- Support
the ability to remove hosts from the cluster when the load goes down.
- Enable
high performance and low overhead through fully pipelined implementation.
Pipelining allows requests to be sent to the NLB cluster without waiting
for response to the previously sent one.
High-availability
A highly available system reliably provides an acceptable level of
service with minimal downtime. To provide high availability, NLB includes
built-in features that can automatically:
- Detect
and recover from a cluster host that fails or goes offline.
- Balance
the network load when hosts are added or removed.
- Recover
and redistribute the workload within ten seconds.
Manageability
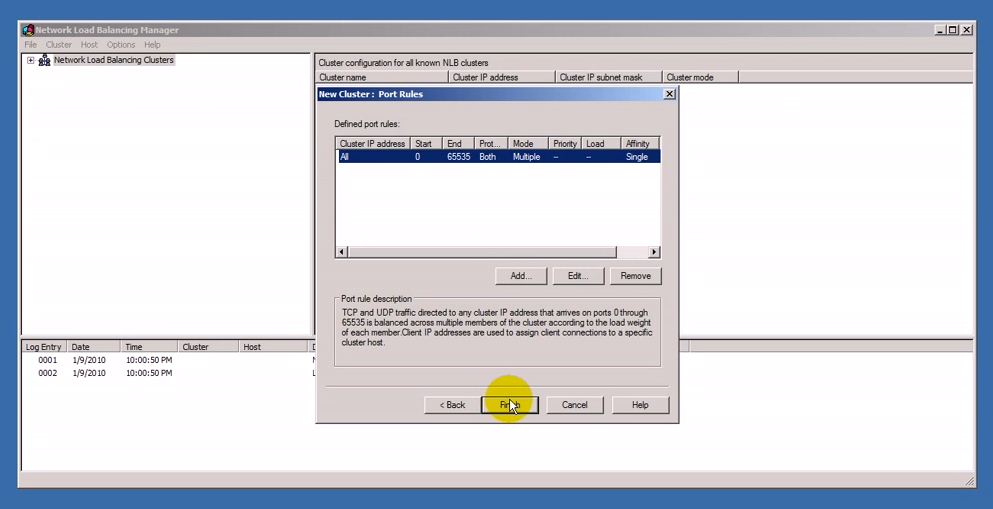
NLB provides the following manageability features:
- You
can manage and configure multiple NLB clusters and the cluster hosts from
a single computer by using NLB Manager.
- You
can specify the load balancing behavior for a single IP port or group of
ports by using port management rules.
- You
can define different port rules for each Web site. If you use the same set
of load-balanced servers for multiple applications or Web sites, port
rules are based on the destination virtual IP address (using virtual
clusters).
- You
can direct all client requests to a single host by using optional,
single-host rules. NLB routes client requests to a particular host that is
running specific applications.
- You
can block undesired network access to certain IP ports.
- You
can enable Internet Group Management Protocol (IGMP) support on the
cluster hosts to control switch flooding (when operating in multicast
mode).
- You
can remotely start, stop, and control NLB actions from any networked
computer that is running Windows by using shell commands or scripts.
- You
can view the Windows event log to check NLB events. NLB logs all actions
and cluster changes in the event log.
Ease-of-use
NLB provides many features that make it convenient to use:
- NLB
is installed as a standard Windows networking driver component.
- NLB
requires no hardware changes to enable and run.
- NLB
Manager enables you to create new NLB clusters.
- NLB
Manager enables you to configure and manage multiple clusters and all of
the cluster's hosts from a single remote or local computer.
- NLB
lets clients access the cluster by using a single, logical Internet name
and virtual IP address—known as the cluster IP address (it retains
individual names for each computer). NLB allows multiple virtual IP
addresses for multihomed servers.